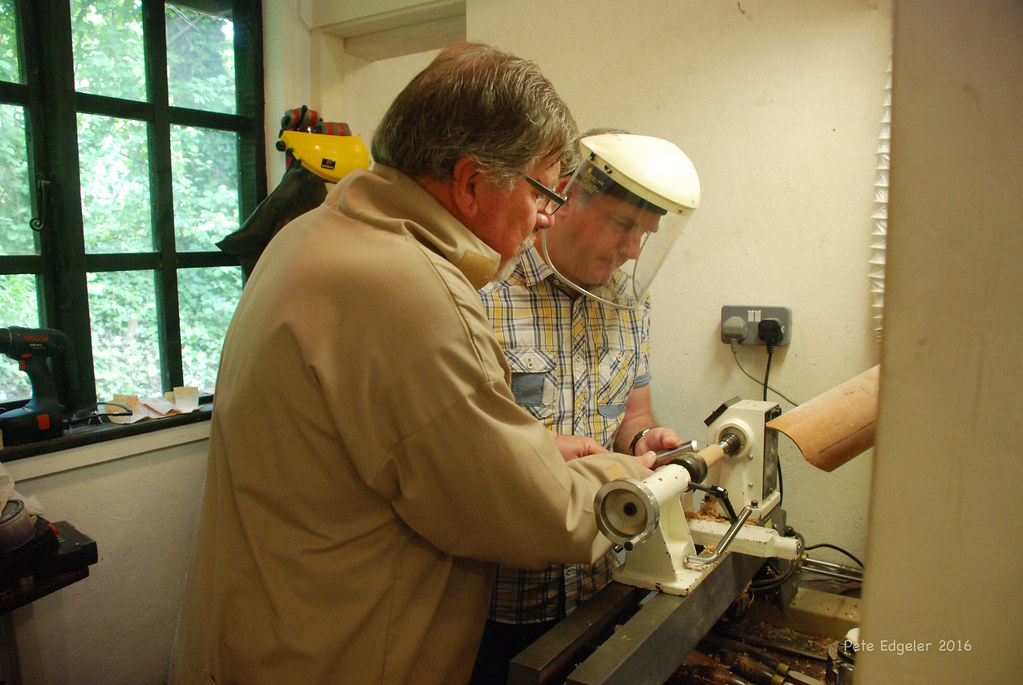
A lathe may not have a tool rest. You will need to adjust its angle to compensate for your hands' awkward position. Most tool rests have flat spots on the top bar that allow your fingers and thumbs to move back and forth. Some can be adjusted to fit most lathes while others offer multiple height settings. There are several important aspects to be aware of when choosing a toolrest for your lat.
Light source
If you don't know what a light source is for a toolrest on a lathe you are not alone. Many lathes include overhead lighting and fixtures that are attached directly to the ceiling. Although these lights can provide additional lighting, they can also block operator access. A tool rest that features an integrated light source is the best choice for a larger lathe.
A tool rest for a lathe includes a vertical post and a horizontal arm. An LED strip or other light source mounted on the tool arm's front is preferred. A wire 20 connects the strip to an electric power source. Alternately, the tool rest can be used without a source of light. This invention will enable you to create a new tool rest for your lathe with a light source.
Support element
The Support element for tool rest for lathe solves a number of problems related to unexpected movement of the toolrest. The prior art supports the toolrest with a point to point abutting arrangement. Because the toolrest must bear torque and axial force during tooling, the friction force generated is not adequate to support the toolrest. This design creates safety concerns. With the Support element for tool rest for lathe, the toolrest is stationarily supported against axial force and torque generated during tooling.
Most often, a toolrest on a lathe consists of an up-standing bar. The bar is used to provide restraint. It may also have grooves for positioning the tool. Some models include a handle that allows you to turn the tool with ease. These toolrests can be either metal or wood. Wooden toolrests should be smoothed. However, if a support element for tool rest for lathe is not included in your budget, you can still opt for a wood one.
Adaptive device
The adaptive device 100 consists of an externally cylindrical sleeves with a head, a threaded section and a threaded part 274 at the outer edge. 150 A flat surface 160 is formed by the milled shoulder 140 to accept set screws in the latheholder 310. The set screws 370 press against the flat surface 160 to maintain the adaptive device in position within the lathe holder.
The Mortimer's pin rest claims that it is gated. However, the support rod rides nearly parallel to its tool shaft. Therefore, it should provide sufficient levering power. Cam locking is almost certain to be a problem because the gate is quite wide. This is a significant improvement on a standard tool rest but it does not offer much in the way of motion restriction or fine tool control. It is not recommended for users who require precise tool control but want to have complete tool control.
Cutting tool
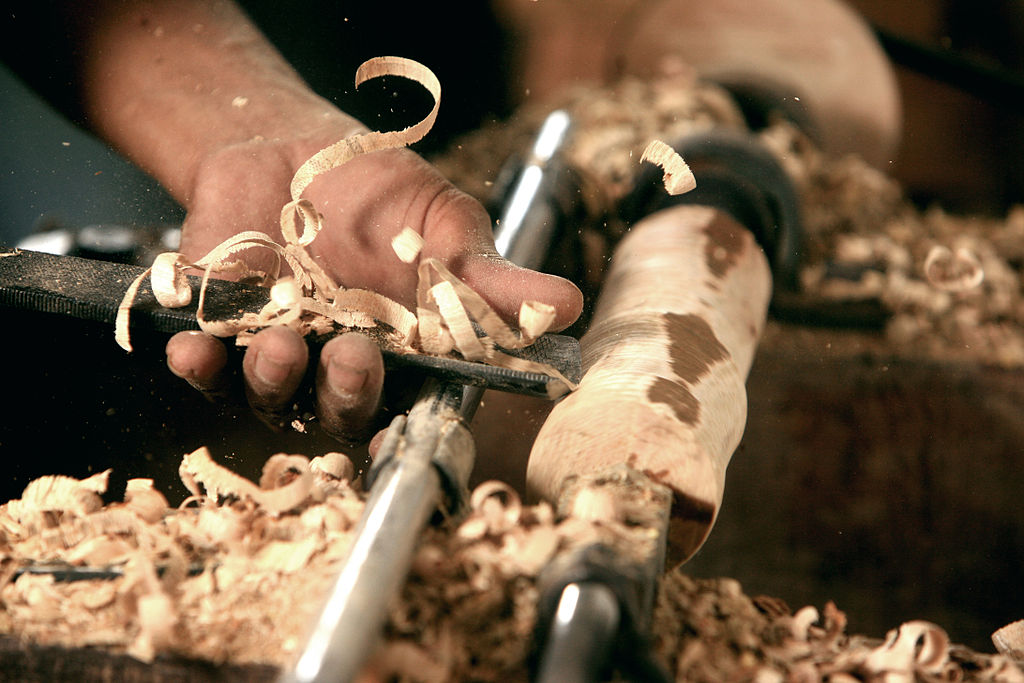
For those who are new to lathework, you should first consider buying a cutting-tool rest for your machine. This accessory will allow you to support your tool as close to the wood as possible while it rotates. The body of a toolrest is sloped backward from the forward edge, which helps you position your tool at an optimal angle for effective cutting. To ensure a smooth work surface, use a file to finish the surface.

If you are looking for a cutting-tool rest for your lathe make sure it has flat spots. This will prevent your fingers from rubbing against the surface. This is a great tool rest for handwork. It prevents your hands and fingers from slipping of the cutting blade. It keeps the workpiece stable while turning at high speeds. There are several sizes to choose from for your lathe. A professional can help you choose the right size for your lathe.
FAQ
How do I get started with woodworking?
Building furniture is the best way to learn how furniture is made. You will need tools. There are bound to be mistakes. But if your persistence is consistent, you will soon master the craft.
First, choose a project you would like to complete. It could be something as simple as a box or as elaborate as a full-scale entertainment center. After you have decided on a project to work on, contact a local woodworker that specializes in this type of work. Ask your local woodworker to help you determine the right tools for you and where they are located. Maybe you can ask the person if they know of anyone who does this sort of work.
What kind tools do carpenters use to build?
A hammer is the most commonly used tool by carpenters. A hammer is useful for driving nails into wood. It also helps them hold pieces together while they are working on a project. Other tools include clamps, pliers, screwdrivers, measuring tape, pencils, saws, drills, and wrenches.
How much should a skilled woodworker earn per hour?
The hourly rate of a professional woodworker depends on many factors including experience, skill level, availability, location, etc.
The average hourly rate for a skilled woodworker ranges from $20-$50 an hour.
A less skilled woodworker can charge as low at $10 an hour.
Are there any other things I should know regarding woodworking?
It is easy to underestimate how much work it takes to make furniture. Finding the right kind of wood is the most difficult part. There are so many options for wood, it can be difficult choosing the right one.
The problem with wood is that not all wood properties are the same. Wooden can split or crack, while some woods may warp. These are important considerations to make before you purchase wood.
Do I need to be a genius to succeed in woodworking?
No. It is not rocket science to woodwork. To create stunning works of art, anyone can learn to use basic power tools.
Statistics
- If your lumber isn't as dry as you would like when you purchase it (over 22% in Glen Huey's opinion…probably over 10-15% in my opinion), then it's a good idea to let it acclimate to your workshop for a couple of weeks. (woodandshop.com)
- The U.S. Bureau of Labor Statistics (BLS) estimates that the number of jobs for woodworkers will decline by 4% between 2019 and 2029. (indeed.com)
- Average lumber prices rose about 600 percent between April 2020 and May 2021. (familyhandyman.com)
- Overall employment of woodworkers is projected to grow 8 percent from 2020 to 2030, about as fast as the average for all occupations. (bls.gov)
External Links
How To
How to make wood joints
This tutorial will show you how to join two pieces of wood together. We will be using the "pocket-hole joint", which involves drilling holes in wood and then gluing them together. If your wood has a straight grain, smooth surface, you can use this method. You might consider dowel joinery if your wood isn’t straight or flat. Here are the steps
-
Drill Pocket Hole Joints. Measure and mark the location where you would like to place the pocket hole joint. Use a jigsaw or handheld drilling machine to drill 3/8 inch deep holes at the ends of each wood piece.
-
Sand Smooth. Sanding the wood's edges will help ensure that the joint won't split later.
-
Glue the two sides of the wood together. Apply glue on both sides of the wooden plank. Allow the wood to rest for five minutes before clamping it together.
-
Clamp the Pieces Together. After the glue has dried thoroughly, secure the pieces so that they are flush.
-
Trim Joinery. After the glue dries, trim any excess wood around your joint.
Be sure to leave enough space between each piece so that they can be turned inside-out.