If you're considering replacing carbide tips in your drill, you've probably been wondering how to go about buying the right type. This article will cover the various materials that are used to make carbide tips as well as the cost and reliability of carbide teeth. Learn how to maintain a sharp edge on your carbide tooth. You'll find the answers to all these questions and more in this article. We hope that this article has been helpful.
Materials that can replace carbide
The process of resurfacing steel components using a metal that is similar to carbide has several advantages. The material's hardness will increase due to the higher cobalt content. This combination is good as it will increase the toughness of a piece. You may consider using a tougher material if you are concerned about durability. You can choose to use an alloy, even though a carbide-blade is not sufficient.
One advantage to using carbon-based materials is their ease of machine. Carbide may also be very fine which can make it difficult to machine. This can result in a smoother, more polished surface. The main disadvantage of this type of carbide is the high cost of manufacturing and processing. This material is very cost-effective, making it a great choice for complex cutting applications. It may also break more easily and is not as strong or durable as other metals.
Carbide cost tips
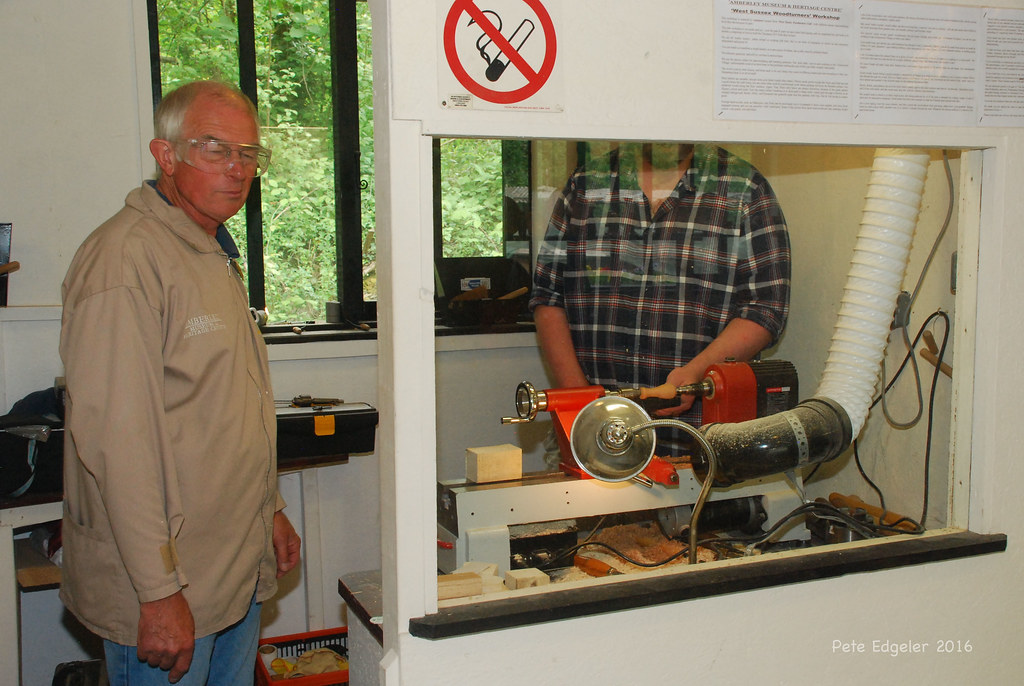
Carbide tips cost more if you have woodturning tools. Carbide tips are more expensive that traditional high-speed metal tools, but they have a lower chance of catching and more consistent results. You should expect to spend $15-30 on a replacement carbide tip. Carbide tools are expensive. Even if you only use carbide instruments occasionally, it is worth the price. Carbide tools can be sharpened using a diamond stone. This is also more costly than sharpening your own equipment.
An old file can be used as a "pokeystick" to remove the old carbide tooth if you are not sure of how to recarbide a sawblade. A ceramic rod is also an option if it's not something you feel comfortable doing. A flame will melt off the old carbide tooth, but it won't fall off on its own. You can also see a video on how to retipe a sawblade. Once you have removed the old carbide tooth you can install a new one. It should be the side with the braze alloy of the new caride tip.
Carbide teeth' reliability

Replacement carbide cutting tips, unlike other replacement teeth are made from chrome-moly alloy steel and are reliable. These carbide-cutting teeth can be used with MacKissic-style stump chopping tools. They are also thicker than the originals. This prolongs their lives and enhances their sharpening capabilities. These are some tips to help you install replacement carbide teeth. The video will guide you through the process.
Carbide tip tips: Getting an edge
Carbide cutting tools last 25 to 100x longer that traditional high-speed stainless steel. But, if you do not want to use your carbide tools again, it doesn't matter if you can't sharpen them. A high-quality carbide tool is sharp enough to use for woodturning. It can also be razor-sharp in hand plane irons. How to make a great edge on a replacement carbide tool tip
Place the replacement carbide tip onto a fine diamond rock. Lightly press down on the carbide tip by placing your finger on its base. Apply equal pressure to the carbide tip's front and back surfaces. Next, you will need to make approximately 50 back-and forth passes to form a square radius. Rotate the tip 90° after each pass. Once you have created a square radii, perform 10 "swirls" clockwise and counter-clockwise.
FAQ
How do you calculate woodworking prices?
Remember to keep costs as low as you can when calculating project costs. Always make sure you get the best price on materials. It is also important to consider the costs of other factors, such time, skill, and experience. To get an idea about the average cost for common household DIY tasks, see our guide to the average woodwork project price.
How much money will I need to get started?
Because each project is unique there are no exact numbers. These are the factors that will give you an idea of how much you'll need.
-
Cost of materials
-
Tools and equipment
-
Time spent on the project
-
The hourly rate
-
How much profit do you expect to earn
-
Whether you plan to hire help
You might start small if you are just starting out. As you gain more experience, you will be able tackle more complicated projects.
Do you have the skills to learn woodworking?
Doing is the best way to learn any subject. Woodworking takes practice, skill, patience and experience. Every craft takes practice and patience.
It is the best way to learn to do something is to actually do it. Start small, and work your way up from there.
Where can you buy your woodworking materials?
There are many places where you will find everything that you need. You could go to your local hardware shop or visit websites such as Amazon.com.
For furniture and other materials that you can reuse, check out flea markets and garage sales.
What wooden items sell well?
These wooden products are the most popular. They were made from sustainably harvested wood.
Maple, cherry, mahogany walnut, teak, mahogany and maple are the most common woods for furniture.
These woods are strong and durable, with beautiful grain patterns. They are also very durable if properly maintained.
To prevent moisture damage to wood furniture, it is important that it be painted before any other surfaces. This applies to all surfaces including drawers, doors, handles, and handles.
If you want to make sure that your furniture lasts as long as possible, then you should choose a paint that is resistant to water.
Use a high-quality, oil-based primer and two coats of topcoat. Depending on how often it will be worn, you may need to apply several coats.
Avoid spray cans or aerosol colors. These products have solvents that evaporate quickly, leaving behind dangerous fumes.
Statistics
- The best-paid 10 percent make $76,000, while the lowest-paid 10 percent make $34,000. (zippia.com)
- The U.S. Bureau of Labor Statistics (BLS) estimates that the number of jobs for woodworkers will decline by 4% between 2019 and 2029. (indeed.com)
- Woodworkers on the lower end of that spectrum, the bottom 10% to be exact, make roughly $24,000 a year, while the top 10% makes $108,000. (zippia.com)
- Most woodworkers agree that lumber moisture needs to be under 10% for building furniture. (woodandshop.com)
External Links
How To
How to join wooden boards without using nails
Woodworking is a favorite hobby. Woodworking can be a fun hobby because you can work with your hands to make useful objects from wood. You might want to join two pieces from the same wood, but you don't need to use nails. This article will demonstrate how to do so to preserve the beauty of your woodwork.
Before joining the pieces of wood together, you will need to first trim any edges. Do not leave any sharp corners as they could cause problems down in the future. After you have completed this step, you are ready to glue your boards together.
If you're working with hardwood, you should only apply glue to one side. For softwoods like cedar and pine, glue should be applied to both sides. Once you have applied the glue, press down on the boards until they are fully attached. Before moving onto the next step, make sure the glue has dried completely.
Once you've glued your boards together you will need to drill holes in the joints to accommodate screws. You can choose the type of screw to determine the size of your holes. For example, if you intend to use 1/2-inch wood screws, you need to drill a hole that is at most 3/4 inches deep.
After drilling your holes, drive the screws into the board's backside. Don't hit the board's surface. You could damage the finish. Don't drive the screws too far into the end. This will prevent splitting the wood's end grain.
Once your project is complete, it's time to protect it against the elements. You can either cover the entire furniture or just the top. Either way, you'll want to use a product that will last for years to come. There are many options: oil-based varnishes; polyurethane; shellac; lacquer.
These products are available at most home improvement stores. Be sure to choose the right one for your project. Don't forget to keep in mind that some finishes are toxic. Protective gear should always be worn when handling these finishes.