A pen is a handy tool for drawing and writing, but what are its components? Below is a detailed explanation of the parts of a pen. This includes its Ink compartment, Thrust device (corner and smooth points), and Anchor points. These components will help you to use your pen efficiently and effectively once you are familiar with them. This article includes information on how to maintain your tool. A reference is a great idea for when you are creating or repairing a pen.
Ink chamber
What amount of ink should be placed in the ink chambers of a tool pen? The ink should not contain any particles and be thick. It should also dry sufficiently to transfer to paper. The entire process should not take more than 2.1 minutes. The entire process must be carefully designed to achieve this. These are some tips to help you make ink pen. Continue reading to find out how to create a high-quality pen. This guide will help you design the perfect pen.
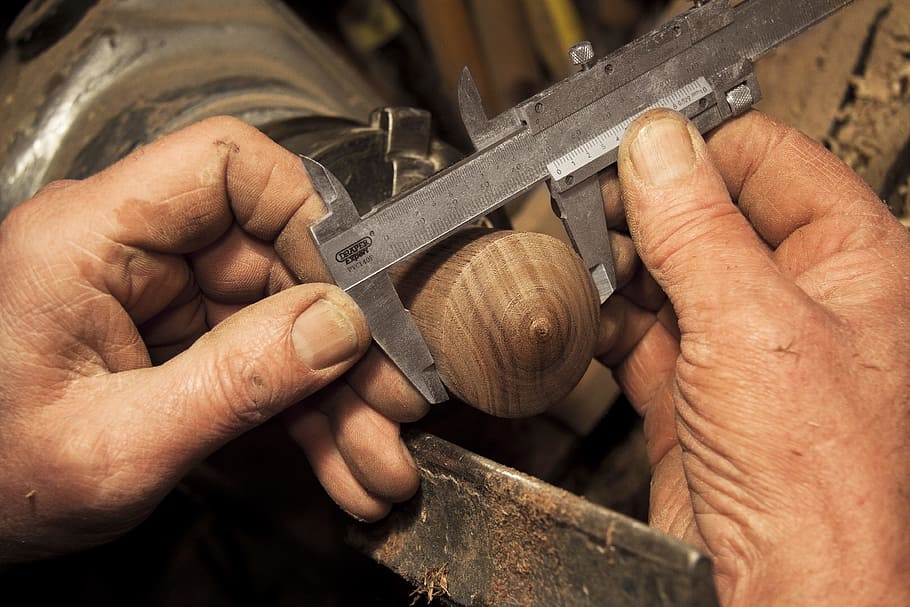
To produce the pen body, an outside company supplies the tungsten carbide balls and the ejector plunger. The other components can be made from different molds. The pen body, and the point are made from brass. Brass disks are heated to soften them. These are then placed inside a compression chamber and shaped. The die cast mold is then used to push the metal disk through a die casting mold. The ejector plunger pulls out any excess brass.
Thrust device
The Thrust device to tools pens is a high-performance serial interface that creates and manipulates vector data. The device supports two types of data: vector and pointer. Vector data can be used for many purposes, including calculating and plotting graphs and graphics. Vector data can be stored in either the host or device memory. In addition, the device can perform a variety of other operations, including data transformation.

The thrust device itself is made out of plastic and measures approximately 2cm. The thrust tube holds the ink cartridge. Once released, the thrust tube releases the ink chamber. The metal clip allows the pen to be attached to thin items. The casing measures 12cm in length and holds the different mechanisms of the pen. It gives the pen a firm grip. This allows the user to hold the pen without it slipping out of his or her hand.
Corner and smooth points
There are two types of anchor points in Photoshop: corner and smooth. Smooth anchors create a curving transition. Corner and smooth anchor points create snaky or sinuous transitions. Both types can be made with the pen tool. You can switch between the two by pressing the arrow keys or holding down the Command key in MacOS. Once the anchor point has been selected, you can adjust its properties.
Curved-corner anchor points, also known as cusp points, are the intersection of two lines segments. It can be described as a double fishhook, but written it is. It's used to form lowercase ms, Valentine hearts, and other shaped letters. You can also use a combination-corner anchor point to create rounded-corner rectangles. The curved-corner-anchor point is more user-friendly than the straight cornerer one.
Anchor points
An anchor point is essential if you want to create straight lines with a tool. The pen tool can detect this and will automatically draw straight lines if you specify. By connecting two anchors points, you can create curves with sharp edges or sides. To make it easier, you can hold shift while clicking. You can set anchor points at the correct angles if you hold shift while clicking. This will make drawing straight edges easier.
You can click and drag an anchor point to create a path after you've chosen it. You can either delete or move the anchor points to another location. You can also use the Pen tool to add anchor points or modify paths. The Pen tool is capable of adding corner and curve points. You can also use Direct Selection tools to select multiple objects. In Illustrator, anchor points can be a powerful tool. They are extremely helpful for creating sharp and precise lines and curves.
Widget for pen elements
The Widget for tools pen elements provides access to a wide range of functions and options. Teachers can add captions, change the text size and add images. Teachers can also drag a box onto a canvas and change its size. It can also adjust the colour options to make it more personal. You can choose between the image uploader and the text tool. The text tool can be used to input text on a canvas while the image uploader lets teachers add a picture to their lesson. Images can be moved, scaled and rotated to add additional depth to the lesson.
The Pen Tool comes in many forms, depending on what you are doing. The cursor informs you of the upcoming action. You can also switch to restrict the tool's movements to 45°, 90°, 135°, 180°, and 120°. Direct Selection Tool however deletes adjacent segments of a path. In addition, you can also switch to the Convert Anchor Point Tool using the Pen Tool option.
FAQ
How often should I purchase new supplies?
You will likely need to replace some tools over time. Sharpening hand tools is a must. You'll also need to replace parts if you use power tools. Spread your purchases over several months to avoid purchasing too many items at once.
What tools should I start with when becoming a woodworker?
Woodworking is an art. It requires patience. It takes time to master all the tools and techniques involved in woodworking.
There are many different types of woodworking equipment available on the market today. Some people prefer to use power tools while others prefer manual tools.
Your choice, however, is up to you. However, you need to ensure that the tool you use is the right one for the job. You might start with a simple set of tools if you don't have much experience.
You could also try learning how to use a router which is used to cut intricate shapes into wood. These are available at most hardware stores.
How can I organize my shop?
A designated place to store your tools is the first step towards keeping your workshop clean. You want your tools to stay clean and free from debris and dust. To hang accessories and tools, use pegboard hooks.
Where can you buy hardwood lumber?
Home Depot offers hardwood lumber. They carry a variety of wood products such as flooring, cabinets, and furniture.
There is also a wide selection of engineered hardwoods, including Ipe (Araucaria Angustifolia), Brazilian Cherry(Pau d'Arco), Mahogany (Swietenia Mcrophylla).
You can search Google for hardwood lumber to find them online.
Which material would you recommend for woodworking lessons?
You can start with softwoods like pine or poplar. When you feel confident with these two, move on towards hardwood.
What wood items do well?
Most wooden items that are best-sellers are made from wood harvested sustainably.
Oak, cherry and mahogany are the most sought-after wood types for furniture.
These woods are very strong, but they also have beautiful grain patterns and colors. They can also last for years if they are properly cared for.
Wooden furniture should always be painted first to protect against moisture damage. This applies to all surfaces, even drawers and doors.
A paint that resists water is the best choice to ensure that furniture lasts a long time.
You should use a high-quality oil-based primer followed by two coats of top coat. Depending on how often it will be worn, you may need to apply several coats.
Avoid spray cans or aerosol colors. These products are contaminated with solvents, which evaporate rapidly and can leave behind toxic fumes.
Statistics
- Woodworkers on the lower end of that spectrum, the bottom 10% to be exact, make roughly $24,000 a year, while the top 10% makes $108,000. (zippia.com)
- In 2014, there were just over 237,000 jobs for all woodworkers, with other wood product manufacturing employing 23 percent; wood kitchen cabinets and countertop manufacturing employing 21 percent. (theartcareerproject.com)
- Most woodworkers agree that lumber moisture needs to be under 10% for building furniture. (woodandshop.com)
- The best-paid 10 percent make $76,000, while the lowest-paid 10 percent make $34,000. (zippia.com)
External Links
How To
How to make wooden joints
This tutorial will help you join two pieces of wooden together. We'll use the "pocket hole joint," which means we drill holes in the wood and then glue them together. If your wood is straight and flat, this method will work well. You might consider dowel joinery if your wood isn’t straight or flat. These are the steps
-
Drill Pocket Hole Joints. To start, measure and mark where you want to put the pocket hole joint. Next, drill 3/4 inch holes in each end of each piece using a handheld drilling machine or jigsaw.
-
Sand Smooth. Sanding the edges of the wood will help to prevent the joint from splitting later.
-
Glue Together. Apply glue to both ends of the wood. Let it sit for about 5 minutes before clamping the pieces together.
-
Attach the Pieces together. After the glue has dried completely, you can clamp the pieces together until they are flush.
-
Trim Joinery. Trimming the joinery after glue has completely dried.
To be able to turn the pieces inside-out, leave enough room between them.